Record of an installation: Ubuntu 12.04 Minimal + Cinnamon 2
Installing Ubuntu 12.04 LTS Netinstall edition with the Cinnamon 2 desktop, step by step.

I write this post not as a tutorial, but only as a personal logbook showing the installation of the operating system I’m currently using, Ubuntu 12.04 in Minimal mode (or Netinstall) with the Cinnamon 2 desktop.
The main reasons I chose this specific configuration were:
-
Ubuntu 12.04 because it’s a true rock. It’s 2 years old, which has made it super stable, and being LTS it still has other 3 years of support. I’ve been using it for a year as my main system (in a dual boot with my former main OS, Arch Linux, which I’ve put aside for now due to lack of time to keep it updated) and it’s the most stable distro I’ve used in a long time. I also have Ubuntu 14.04 on another partition but it gives me some bugs; one of which they resolved a few days ago, but I still prefer to give it more time and stay here in the meantime.
-
Cinnamon because it’s my favorite desktop environment, it has all the benefits of GNOME without most of its annoying quirks, and by default it already comes with a very attractive interface; besides the fact that it has always been extremely stable for me. I choose version 2 in particular because it’s the one that has become independent from GNOME, it improves a lot in speed and resource consumption compared to previous versions, and instead of Nautilus it comes with Nemo, a more complete and powerful file browser.
-
Finally, the choice to do it in Minimal mode (a version of Ubuntu that is just the base system, without a graphical interface and with very few pre-installed packages) originally came from the serious errors I had when trying to install Cinnamon 2 on regular Ubuntu 12.04 or even Linux Mint 13, caused by the desktop’s incompatibility with some packages present in the installation (I assume GNOME ones, although this contradicts its supposed independence). Installing it in a clean environment solves this problem and also results in a more lightweight and faster system.
Since this isn’t a tutorial I won’t waste time on screenshots or extensive explanations of each of the steps. Still, the process is straightforward and one doesn’t need to delve into too many details. I hope it can be of use to someone, as well as getting your suggestions and opinions to improve the installation. 🙂
NOTE: I leave screenshots of how my desktop looks at the end.
Prerequisites
First of all I make sure to have the laptop connected to the modem via Ethernet, since the model I have (Dell Vostro 1320) requires Broadcom’s proprietary driver so I can’t use Wi-Fi during the installation of the base system.
I also pre-partition with GParted on a Live CD so that I don’t have to do it with the Minimal ISO’s wizard, and memorize or write down the numbers of the partitions I’m going to use.
Ready that, I download the Minimal ISO of Ubuntu 12.04 (which only weighs 27 MB) and flash it on a USB stick:
1
2
3
$ wget http://archive.ubuntu.com/ubuntu/dists/precise/main/installer-i386/current/images/netboot/mini.iso
# chmod 777 /dev/sdb
# dd if=mini.iso |pv|dd of=/dev/sdb
Note: to run the third command, the pv package must be installed, which in Ubuntu can be installed using:
1
# apt-get install pv
Now I only have to restart the machine and boot from the USB stick to begin the installation.
Base system installation
If you’ve ever installed Debian in Netinstall mode you’ll find that the process is exactly the same, the Ubuntu guys haven’t really changed anything to the wizard.
In order not to delay myself much in this part, I’ll leave you with this tutorial from Geeks & Linux Atelier! that describes the process (in Spanish, I couldn’t find any good one in English).
The only notable points I follow in this part are:
- Selecting the “Advanced” mode to have access to all the options.
- In the “Partitioning” part, I select “Manual” to only mount the partitions I had already created (pay attention here to the partitions that will be formatted and those that won’t).
- Disabling automatic updates, because I prefer to do it manually.
- In the part about “Software selection”, where it asks me to choose a desktop, I don’t choose any since I’ll install Cinnamon on my own.
- I don’t install Grub either because I use Arch Linux’s (Ubuntu 12.04 doesn’t detect Arch). That implies logging into Arch and regenerating the Grub from there, but obviously whoever tries to repeat this doesn’t have that problem, so they can tell the wizard to install Grub and problem solved.
Once the steps are finished, the base system is installed and I restart to begin the customization.
Cinnamon and LightDM installation
Upon starting the system, it obviously boots into pure console because there’s no desktop installed. To install Cinnamon 2 on Ubuntu 12.04 I need to add Linux Mint 13 Maya’s repositories, but with the backports option enabled since in the regular repositories they only have Cinnamon 1.6.
So, I add the repos to the sources.list:
1
2
sudo sh -c "echo '#Linux Mint 13 Maya' >> /etc/apt/sources.list"
sudo sh -c "echo 'deb http://packages.linuxmint.com maya main upstream import backport' >> /etc/apt/sources.list"
Update:
1
# apt-get update
Install the GPG signatures:
1
# apt-get install linuxmint-keyring
Update again:
1
# apt-get update
And install the necessary packages:
1
# apt-get install cinnamon cinnamon-control-center cinnamon-settings python-pexpect cinnamon-themes mint-artwork-cinnamon mint-themes mint-x-icons gnome-icon-theme-full gtk2-engines-murrine murrine- themes mint-backgrounds-maya
That includes Cinnamon 2 along with Linux Mint’s themes and wallpapers and the GTK Murrine engine.
This Cinnamon also adds some dependencies that I use, such as Brasero (no idea why it includes it), GNOME System Monitor, and Network Manager.
Now that I no longer need the Linux Mint repo, and since it might not be a good idea to just leave it there receiving packages from the backports, I edit the sources.list again:
1
# nano /etc/apt/sources.list
Comment the repository:
1
# deb http://packages.linuxmint.com maya main upstream import backport
And update:
1
# apt-get update
This also prevents getting updates for Cinnamon, although it seems to me that they don’t release any very frequently anyway.
Even so, to make sure of this, the system can be updated from time to time with the commented repository (to download packages only from Ubuntu repos), uncomment it and update again to see what packages there are.
Anyway, now I continue with the display manager. I like LightDM, so I install it:
1
# apt-get install lightdm gnome-settings-daemon indicator-session unity-greeter ubuntu-mono light-themes
I personalize this a bit but I may talk about that later. 😛
Fortunately here in Ubuntu you don’t need any more settings, so it’s just a matter of rebooting and I can now log into Cinnamon.
Essential packages
I could have installed these before rebooting, but I do it later so as not to wait so long before seeing the graphical interface.
They’re the Build Essential (compiler tools), Jockey GTK (the additional driver installer, so that I install the Wi-Fi driver without complications), and Ubuntu Restricted Extras (contains Flash and codecs so that applications can play audio files and video):
1
# apt-get install build-essential jockey-gtk ubuntu-restricted-extras
Network Configuration
With Jockey GTK installed, I look for it in the applications menu and let it install the Wi-Fi driver. It asks me to restart but it’s not necessary, Network Manager instantly detects the networks and I can connect without the need for the Ethernet cable.
Basic software
The most absolutely essential applications in any new Linux installation are a text editor (for modifying files without relying on console editors) and a browser (for googling problems you have). My favorites are Sublime Text 2 and Mozilla Firefox:
-
Mozilla Firefox (with Spanish localization)
1
  # apt-get install firefox firefox-locale-es
-
Sublime Text 2
1
2
3
# add-apt-repository ppa:webupd8team/sublime-text-2
# apt-get update
# apt-get install sublime-text
Cinnamon customization
I already mentioned that one of the things I like about Cinnamon is that it comes beautiful by default, but I make several modifications to it anyway.
First of all, I don’t like the Linux Mint logo on the start button, so I change it for the generic logo (you can download it from here). To change the icon, right-click on the button, then “Configure”, and choose the desired icon.
Now I go to “System Settings” > “Themes” > “Get more from the Internet”, and install the New Minty theme which is the one I’m using now (once installed you have to go to the “Installed” tab, right click on it, and select “Apply theme” to activate it).
Right there in “Themes”, I switch to the “Other options” tab, and in “Controls”, “Icons”, and “Window edges”, I choose “Mint-X”. As mouse pointer I leave “Adwaita”, and in Key bindings I leave it in “Default”.
Now, something I do like about Linux Mint’s Cinnamon 2 are the Nemo colors: it has a black background in the sidebar and a grayish tone as the background of the windows, which is not the case with this one. In order make it like that, I edit the /usr/share/themes/Mint-X/gtk-3.0/apps/nemo.css file and change these lines:
1
2
3
4
NemoWindow * {
  -GtkPaned-handle-size: 1;
  background-color: @base_color;
}
For these:
1
2
3
4
NemoWindow * {
  -GtkPaned-handle-size: 1;
  background-color: #f7f7f7;
}
And these
1
2
3
4
5
6
7
/* sidebar */
NemoWindow .sidebar,
NemoWindow .sidebar .view {
  background-color: @bg_color;
  color: @fg_color;
  text-shadow: 0 1 shade (shade (@bg_color, 0.95), 1.04);
}
For these:
1
2
3
4
5
6
/* sidebar */
NemoWindow .sidebar,
NemoWindow .sidebar .view {
  background-color: #505050;
  color: #fff;
}
Finally, I have to solve a bug with Nemo that prevents it from showing thumbnails. That’s fixed simply with this:
1
rm -r ~/.thumbnails && ln -s ~/.cache/thumbnails ~/.thumbnails
And it’s ready. I’m missing the part of the installation of the rest of the programs, but I may write a post about that at some point in the future. I’ll only mention other essential programs here.
More software
-
Chromium
1
# apt-get install chromium-browser
-
Evernote (via PlayOnLinux)
-
Evince (to open PDFs)
1
# apt-get install evince
-
GIMP 2.8 (the one in the repos is 2.6 and doesn’t have the single-window mode)
1
2
3
# add-apt-repository ppa:otto-kesselgulasch/gimp
# apt-get update
# apt-get install gimp
-
gThumb (to opem images)
1
# apt-get install gthumb
-
LibreOffice (with Spanish localization; and it’s version 3, personally I don’t use PPA for this one)
1
# apt-get install libreoffice libreoffice-gnome libreoffice-l10n-es
-
Spotify (don’t resist yourself anymore and use it :P)
1
2
3
4
5
# sh -c “echo ‘deb http://repository.spotify.com stable non-free’ >> /etc/apt/sources.list”
# apt-key adv –keyserver keyserver.ubuntu.com –recv-keys 94558F59
# apt-get update
# apt-get install spotify-client
# sed -i ‘s/Exec=spotify %U/Exec=env LC_NUMERIC=en_US.utf8 spotify %U/g’ /usr/share/applications/spotify.desktop
-
VLC
1
# apt-get install vlc
And that’s all for now. I’ll be updating this post with other details that I have skipped, and the more specific configurations will be published in separate posts and linking them from here.
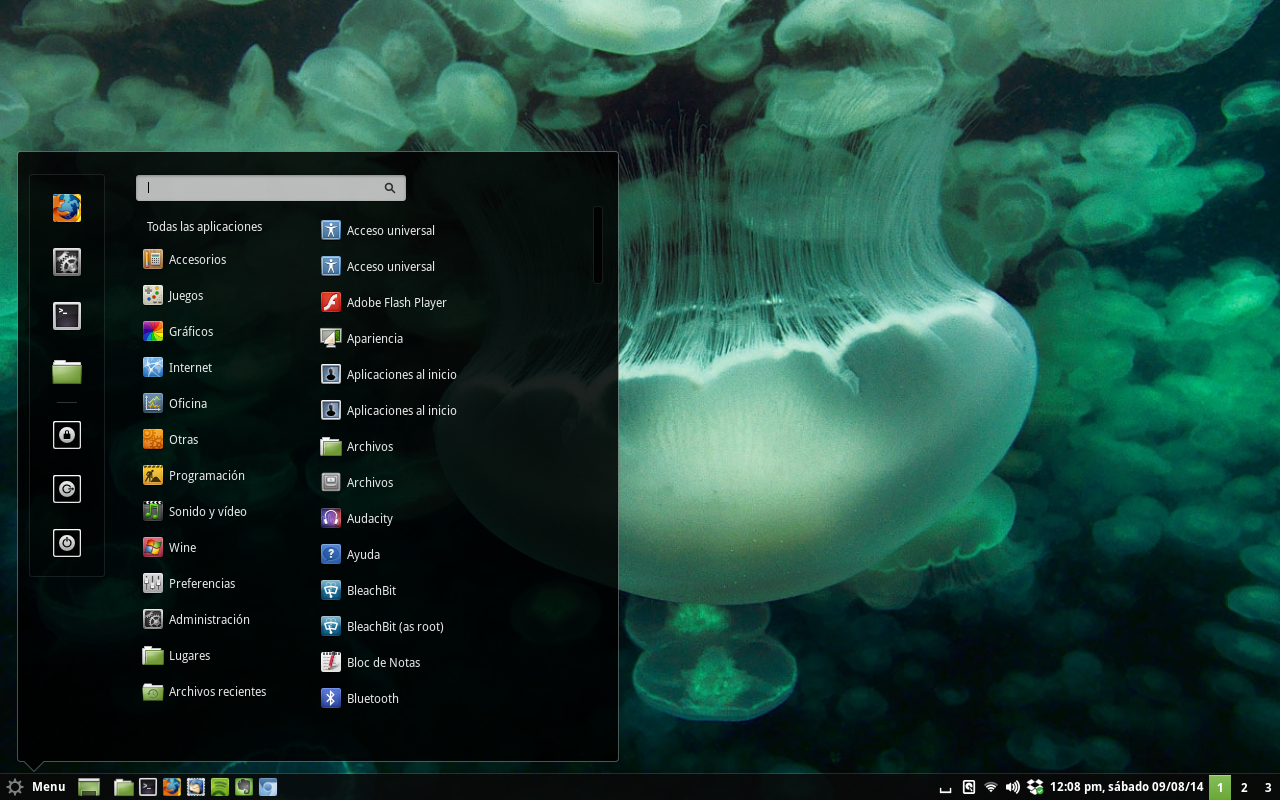
BTW, this is what my desktop looks like at the time of posting this:

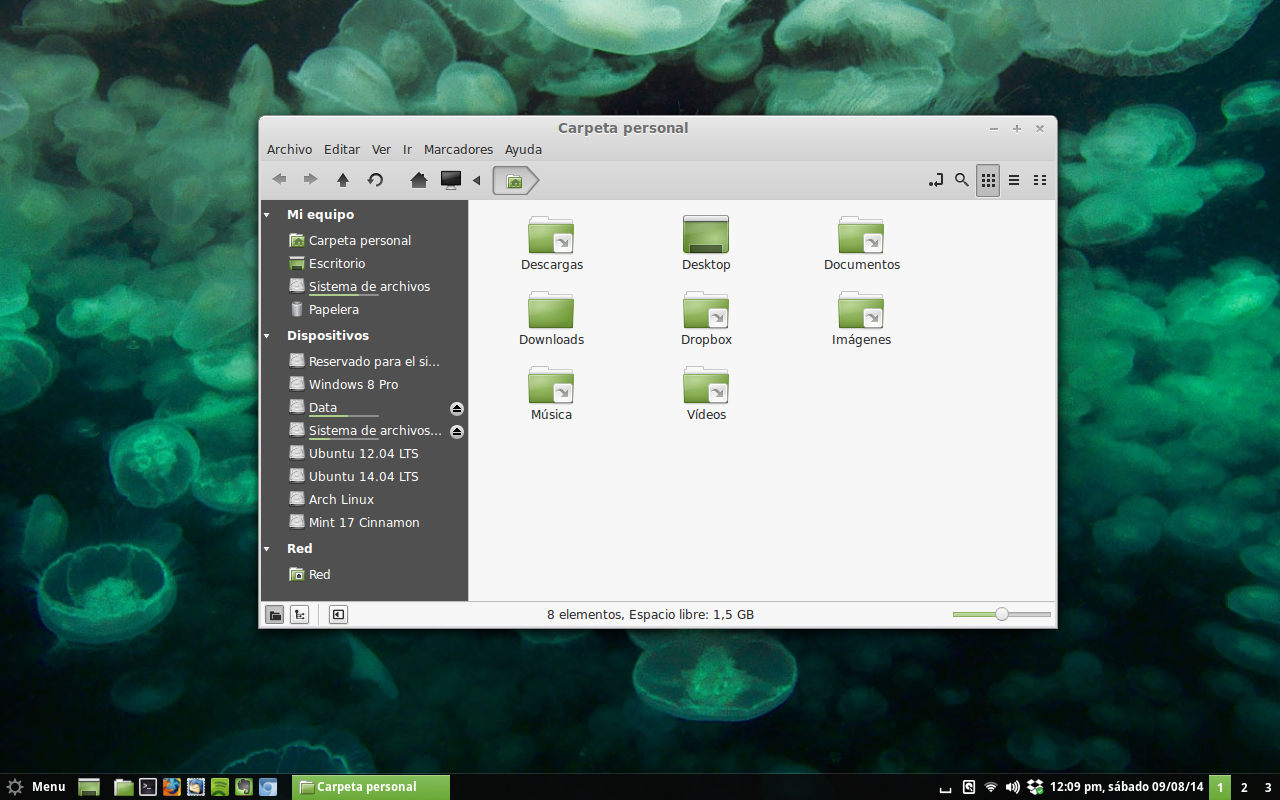
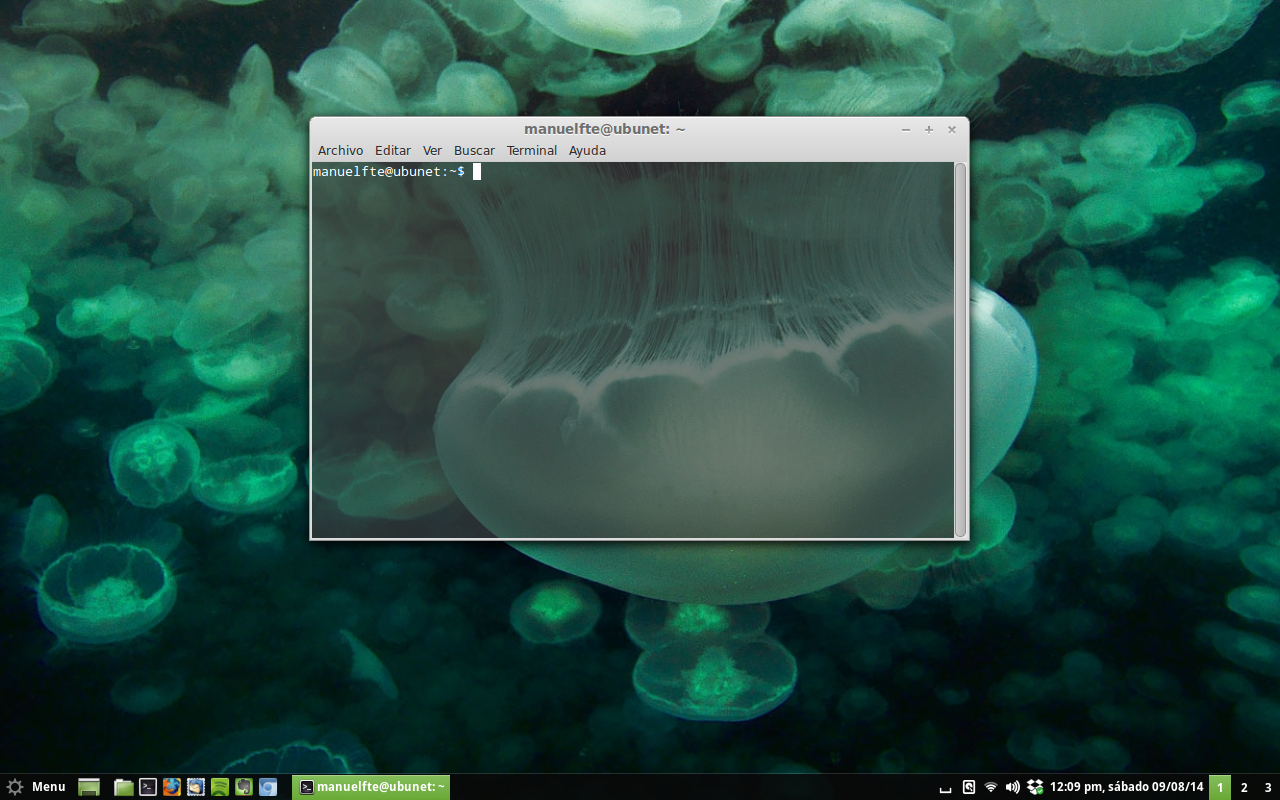
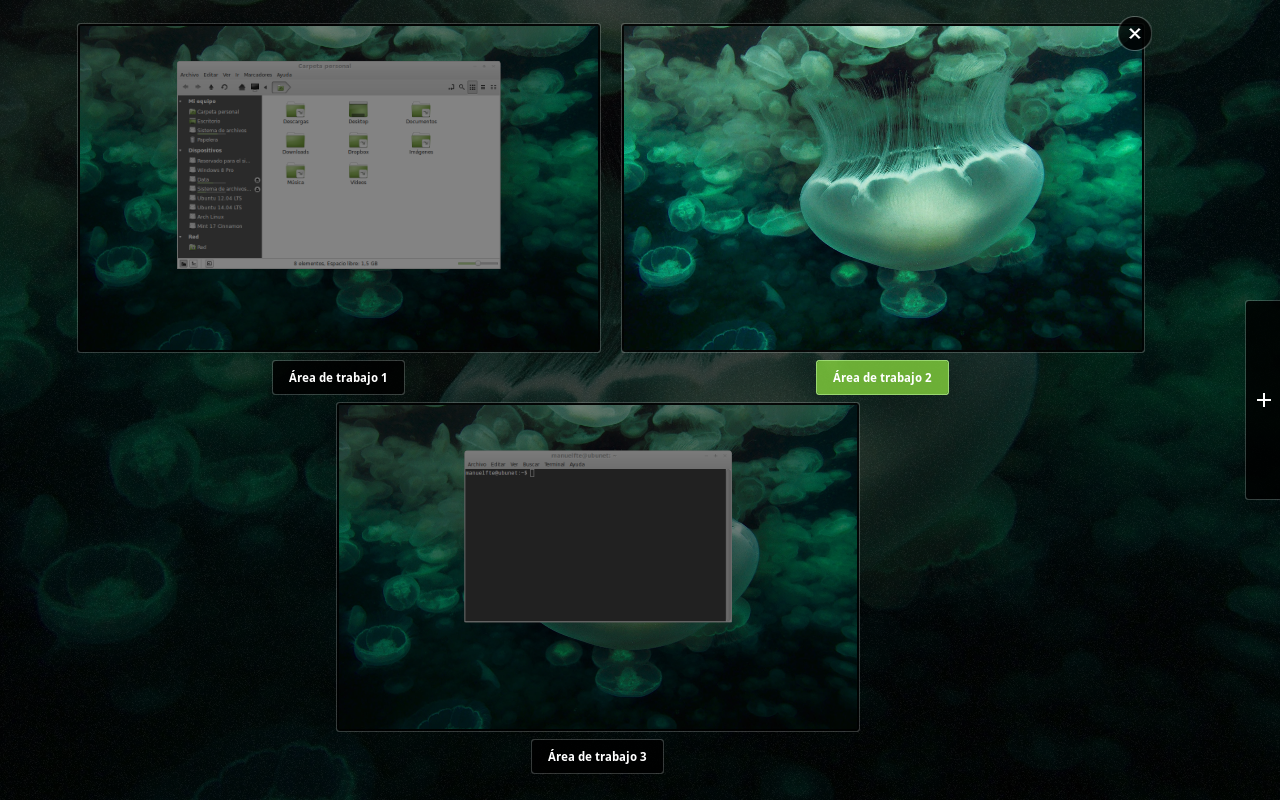


