How to install gpt-oss + Ollama + Open WebUI on Linux via Docker
Quick tutorial on installing OpenAI's open-source GPT model, with better performance for NVIDIA GPUs.

Now that OpenAI has finally launched an open-source version of its GPT models (miraculously deciding to honor its “open” name for once), I got curious and decided to install it on my Manjaro Linux. The AI model runner I use is Ollama with the web interface Open WebUI, but inside Docker containers for multiple reasons (including the fact that I don’t like to install any Python apps natively if I can avoid it). I have come up with a setup that is both easy and flexible, so I’ve decided to share it on my blog. These are the instructions for whoever wishes to do the same.
Table of contents
- Installing Docker and NVIDIA Container Toolkit
- Installing Ollama
- Installing gpt-oss
- Installing Open WebUI
Installing Docker and NVIDIA Container Toolkit
The first step is to install Docker, Docker Compose, and, in case we’re using an NVIDIA GPU, the NVIDIA Container Toolkit, which will allow Docker containers to use the GPU more effectively (important when running AI models locally). This is the command for Arch Linux and its derivative distributions:
1
sudo pacman -S docker docker-compose nvidia-container-toolkit
If we installed the NVIDIA Container Toolkit, we need to generate the CDI specification file for our available NVIDIA GPUs:
1
2
sudo nvidia-ctk cdi generate --output=/etc/cdi/nvidia.yaml
sudo nvidia-ctk cdi list
Docker is now installed and ready to use, so let’s launch it:
1
sudo systemctl start docker
Installing Ollama
To create a Docker container for Ollama, I made this Docker Compose file. Create a file named ollama.yml and paste this inside, replacing the path with the desired location where you wish to save the models:
1
2
3
4
5
6
7
8
9
10
11
12
13
14
15
16
17
services:
  ollama:
    image: ollama/ollama:latest
    container_name: ollama
    ports:
      - "11434:11434"
    volumes:
      - /path/to/ollama:/root/.ollama
    deploy:
      resources:
        reservations:
          devices:
            - capabilities: [gpu]
              driver: cdi
              device_ids:
                - nvidia.com/gpu=all
    restart: always
Now, to deploy it, we simply need to run:
1
docker-compose -f "/path/to/ollama.yml" -p ollama up -d  --remove-orphans
This will create the Docker container, and after everything has been set up, the Ollama API will begin serving at http://localhost:11434.
Installing gpt-oss
To install models inside the Docker container, let’s open an interactive Bash shell inside it:
1
docker exec -it ollama bash
Now we can install either the 20b or 120b versions of gpt-oss from the Ollama library:
1
ollama pull gpt-oss:20b
1
ollama pull gpt-oss:120b
After they have been installed, we can start chatting with them through the console with the run subcommand (ollama run <model>), or preferably, let’s install the web interface Open WebUI to use our models from the browser, with an interface similar to that of ChatGPT:
Installing Open WebUI
To install Open WebUI inside a Docker container, I have prepared a Docker Compose file as well. Create a file named open-webui.yml and paste this inside, once again replacing the path with the desired one:
1
2
3
4
5
6
7
8
9
10
11
12
13
services:
  open-webui:
    image: ghcr.io/open-webui/open-webui:main
    container_name: open-webui
    ports:
      - "3000:8080"
    environment:
      - OLLAMA_BASE_URL=http://host.docker.internal:11434
    extra_hosts:
      - "host.docker.internal:host-gateway"
    volumes:
      - /path/to/open-webui:/app/backend/data
    restart: always
Now, let’s deploy it with this command (remember to exit the Ollama shell with exit first, or run this command from another console session):
1
docker-compose -f "/path/to/open-webui.yml" -p open-webui up -d  --remove-orphans
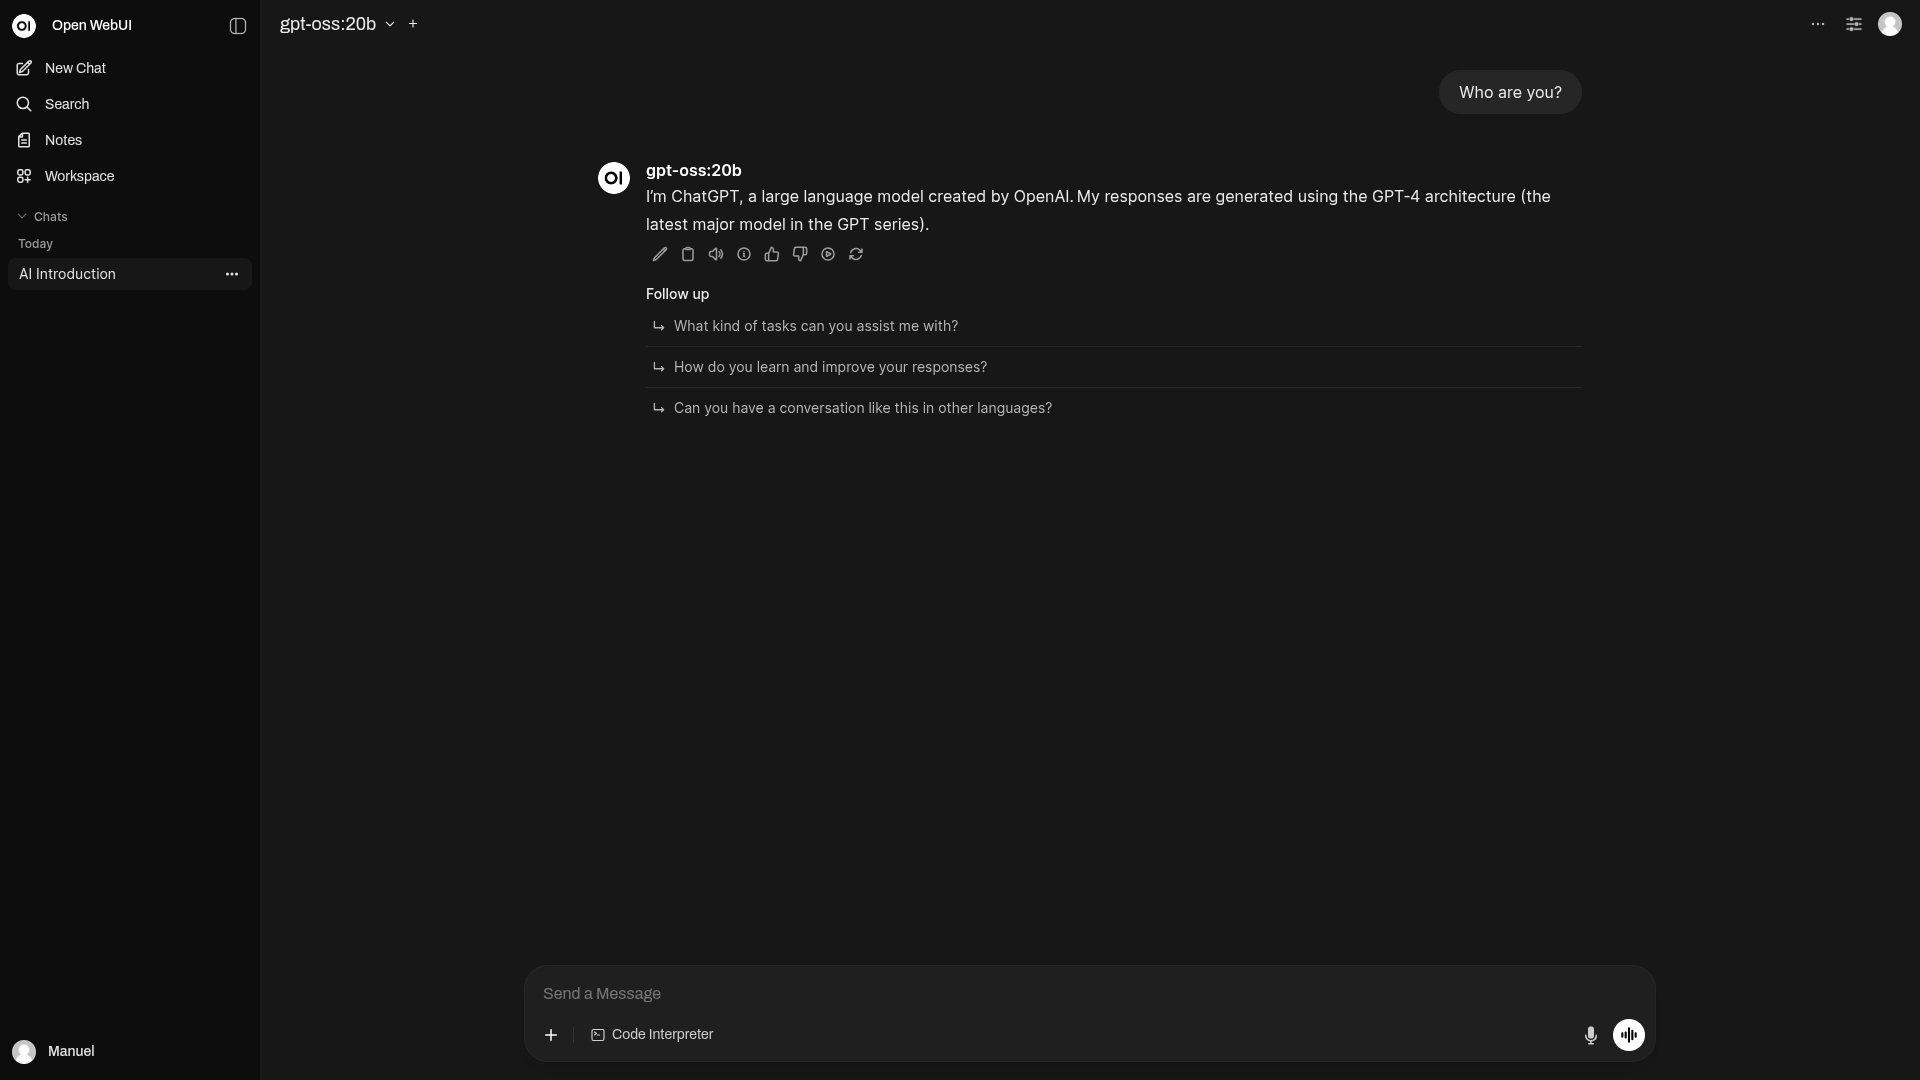
After everything has been installed, Open WebUI will begin serving at http://localhost:3000. Visit that address in your browser, and enjoy your local models.